
There is no end to what you can make with Salt dough. From decorations, to picture frames, to even something as intricate as a decorative bowl.
Salt dough is a fantastic way to keepsake childhood art.
My parents still have some Christmas Decorations I made about 15 years ago (wow didn't realise it was that long ago!). Those pieces were varnished after they were baked, so they last longer.
However, I have taken to just baking and painting these days as varnish is smelly, messy and takes a while to dry. Those pieces tend to last a few years once they're kept in a cool, dry place with minimum humidity. But if you have some varnish, patience and are lucky enough to have somewhere to leave it to dry, please feel free to use yacht varnish or any other craft varnish.
I've been making salt dough myself since I was a child. I have half a library of books with various techniques and tips. I've tried and tested many recipes - some go too crumbly, some crack while they're baked, some are too wet. The recipe I use, is one that I came up with myself and seems to be working quite well.
If Salt dough is something you might like to try out at home, here's the recipe I use:

1.5 Cups Plain Flour
Half Cup Salt (Any fine salt will do)
Half Cup Water
Making:
Mix the dry ingredients together in a bowl. Add water gradually, mixing as you go to form a dough. Add a little more or less water, depending on the consistency of your dough. Now knead dough by sticking the heels of your hands in, then rolling it over on itself - for about 10 minutes.
Just before the kneading.....This is how much Dough the recipe makes....

Baking:
This is the tricky part. You may leave your items to air dry in a warm place (hot press), turning frequently. However, this method takes about 3-5 days, depending on the thickness of the dough. It also tends to tend to crack.
Aga/slow cooker: I am lucky enough to know someone with an Aga that I can use. So mine went into the slow oven part at 150 celsius. Some items took 10 hours, other's took 12 - all depending on thickness etc.
Regular oven: I have never tried this, but one of my books says: 150 celsius oven 3 - 7 hours.
Tips:
* Dough does not keep in the fridge (goes sticky) or in the air (tends to go hard quite quickly) - So only make as much as you actually intend to use.
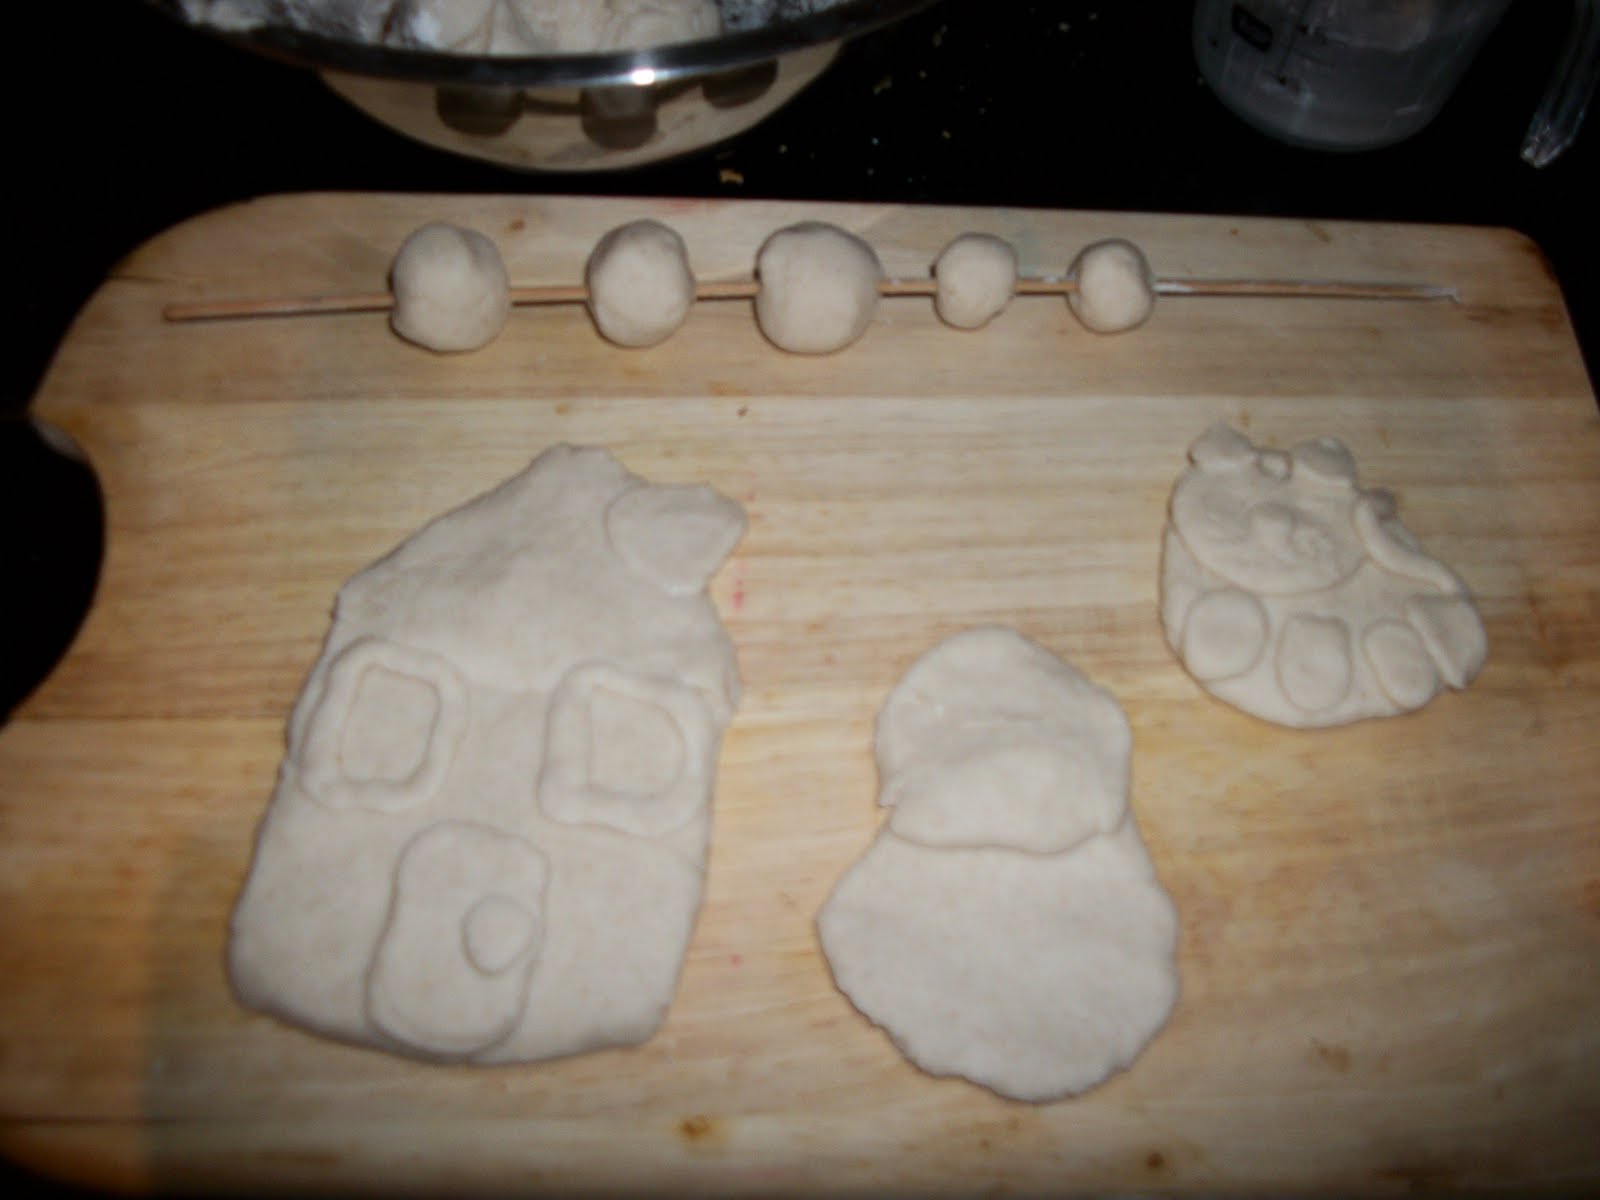
* Work directly onto the baking tray you intend to bake it on as some items are difficult to transfer once you've made them and may get squished. For the children, I cover wooden chopping boards with Greaseproof paper and then lifted the paper directly off the board and onto the tray for baking.
*I made 4 times more of this recipe for 6 kids for a one hour class and it was plenty to keep them busy.
* Varnishing adds a lovely professional look to items and makes them last longer - once you have baked and painted - use yacht varnish or any other craft varnish.
Hope you have as much fun with it as I do - stay tuned to see what the kids made with all the lovely dough!
No comments:
Post a Comment