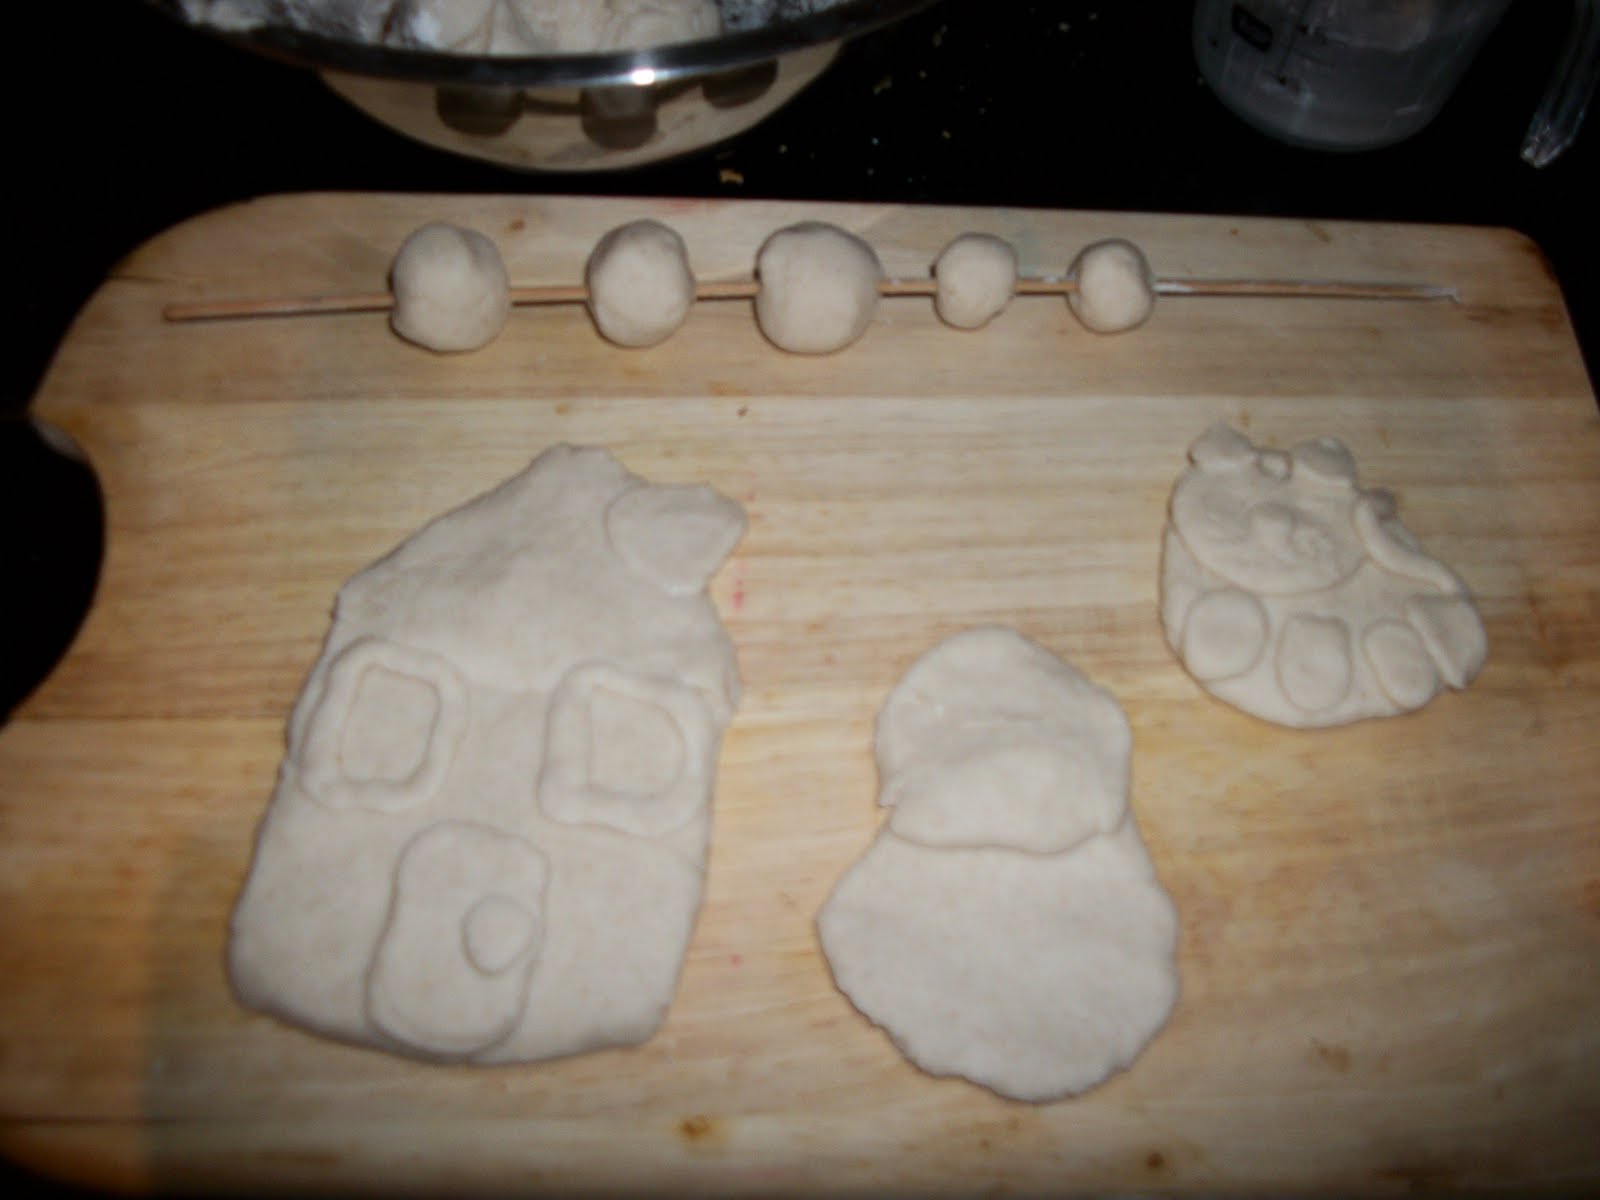
There was much excitement to get started at today's class. It did take a few moments to explain to the younger members of our class that this wasn't just play-dough, we could keep the things we made and bake it. This did take a while to sink in, as I noticed they would squish up the lovely things they made and begin again, instead of putting it to one side for baking!
Each child was supplied with a board covered in greaseproof paper (taped at the back to keep it in place while they created. They were also given plastic cutting utensils, plastic knives, shape cutters, rolling pin and bamboo skewers. Also I supplied some books for them to look at for ideas.
Some of the ideas the kids came up with were fascinating.
Of course, our younger ones had great fun making play food, long sausage snakes, and cutting shapes to make decorations with.
While our older members created Name plates for their bedroom doors, some mini wreathes and gorgeous decorative pictures.
They learned some new techniques....
......wetting the dough with a bit of water on their fingers so that they could "glue" smaller pieces to larger pieces of dough.....
....making holes in the dough to put string through for hanging and placing balls of dough onto a skewer to keep the holes in while baking.....
We ended up with, slightly sticky hands, some floury clothes (my fault for leaving the bag of flour within easy reach!) and so many gorgeous things made! I took them home to bake slowly in the Aga oven I had temporarily "borrowed" space in.....
Here they are, moved carefully onto baking trays and ready to pop in the oven!
Can't wait to see them all baked and painted by the end of next week's class!
There is no end to what you can make with Salt dough. From decorations, to picture frames, to even something as intricate as a decorative bowl.
Salt dough is a fantastic way to keepsake childhood art.
My parents still have some Christmas Decorations I made about 15 years ago (wow didn't realise it was that long ago!). Those pieces were varnished after they were baked, so they last longer.
However, I have taken to just baking and painting these days as varnish is smelly, messy and takes a while to dry. Those pieces tend to last a few years once they're kept in a cool, dry place with minimum humidity. But if you have some varnish, patience and are lucky enough to have somewhere to leave it to dry, please feel free to use yacht varnish or any other craft varnish.
I've been making salt dough myself since I was a child. I have half a library of books with various techniques and tips. I've tried and tested many recipes - some go too crumbly, some crack while they're baked, some are too wet. The recipe I use, is one that I came up with myself and seems to be working quite well.
If Salt dough is something you might like to try out at home, here's the recipe I use:
1.5 Cups Plain Flour
Half Cup Salt (Any fine salt will do)
Half Cup Water
Making:
Mix the dry ingredients together in a bowl. Add water gradually, mixing as you go to form a dough. Add a little more or less water, depending on the consistency of your dough. Now knead dough by sticking the heels of your hands in, then rolling it over on itself - for about 10 minutes.
Just before the kneading.....This is how much Dough the recipe makes....
Baking:
This is the tricky part. You may leave your items to air dry in a warm place (hot press), turning frequently. However, this method takes about 3-5 days, depending on the thickness of the dough. It also tends to tend to crack.
Aga/slow cooker: I am lucky enough to know someone with an Aga that I can use. So mine went into the slow oven part at 150 celsius. Some items took 10 hours, other's took 12 - all depending on thickness etc.
Regular oven: I have never tried this, but one of my books says: 150 celsius oven 3 - 7 hours.
Tips:
* Dough does not keep in the fridge (goes sticky) or in the air (tends to go hard quite quickly) - So only make as much as you actually intend to use.
* Work directly onto the baking tray you intend to bake it on as some items are difficult to transfer once you've made them and may get squished. For the children, I cover wooden chopping boards with Greaseproof paper and then lifted the paper directly off the board and onto the tray for baking.
*I made 4 times more of this recipe for 6 kids for a one hour class and it was plenty to keep them busy.
* Varnishing adds a lovely professional look to items and makes them last longer - once you have baked and painted - use yacht varnish or any other craft varnish.
Hope you have as much fun with it as I do - stay tuned to see what the kids made with all the lovely dough!
Creating a mask isn't just about the art, it's about creating a new character and bringing that character to life.
The children were asked to design a character that they would like to create - an animal, insect, creature, alien or what ever they could come up with! So out came their portfolio books and the designing began.
Next step was to give each child a blank template half-face mask - prepared beforehand by me from white card - as we only have an hour class and decorating is more important than cutting!
As I unveiled the table with all of the materials on it - much to my delight - the little ones exclaimed with various "awwww"s, "ooooh"s as they discovered:
Glitter glue, PVC glue, Glue-sticks, felt, foam, feathers, wiggly eyes, wool, paper and card in many colours, sparkly straw, faux fur...have I missed anything? Yes, I may have....but you get the idea!
Let the mask making commence!
I couldn't believe some of the ideas they came up with! It's brilliant to see their little imaginations going into overdrive. Most gathered what they wanted and sat on the floor to create, going back and forth to choose their materials.
There were many changes of mind, so things were added, then removed until they were happy with the result.
One girl decided to empty the entire bag of wool and blue sparkly straw onto the floor and sort through to find how many pink strands she could find! Now that's organisation for you!
Our little 3 year old was determined to glue as many items as possible to her mask front and back. I'm pleased to tell you that she succeeded, although I did have to explain that a full ball of wool would not remain glued and she would have to cut strands off!
Here's the front of her beautiful creation:
There are spaces for your eyes to look through in there somewhere....!
Here's a Bunny Rabbit complete with faux fur and whiskers:
An Alien with many eyes and sparkly orange cheeks:
Another multi-eyed Alien with feather & wool for brains - yes, they're his brains, that's what I was told!
And a bear with white fur, glitter & pointy ears:
Ooooh the colours! I wish we could have a parade!
We knotted elastic through the holes at the sides so that they could wear the masks on their faces.
Next week we will make Salt Dough decorations. We are all so excited about that!
Kids love to make things that are unique, something all their own. Parents love to have things they can keep to remind them of their children being...well...little children!
In my art and craft class this term, I have been blessed with a wonderful class of six children, aged from (teeny tiny!) 3 to 7.
In our first class, we made a "Me Book" or Portfolio of their art work.
Because these were special books, only made by them, it was important that I provided the materials:
A book (with lots of blank pages to fill with pictures over the coming weeks) each, colouring pencils & pens, lots of shiny paper & pictures, glue
.
I was there for guidance and to help with suggestion of materials and techniques, but other than that, it was important that I stood back and let them create.
Some of the finished "Me books" for the little ones to be proud of!
All decorated and ready to be filled with lots of lovely pictures over the next 6 weeks....
“Every Child is an artist. The Problem is how to remain an artist once we grow up.”
Pablo Picasso
While creating my paintings for children, I always make sure to keep a very important thing in mind…..MAGIC!
The magic of childhood.
How colours seem much brighter, sparkles are fairy-dust and imagination makes the things we see really come to life!
Childhood is one great adventure, with each day more exciting than the next, every moment of a child’s life is a new chance to explore – no wonder some of them never want to go to bed!
So where does that little kid go? All of a sudden we are all grown up, responsible and, in many ways, especially when it comes to creativity, afraid. Afraid of judgement, afraid of criticism, afraid of getting in touch with the little artist within the adult.
When and how does this happen?
Well, life just happens.
Various events occur, making us retreat within, placing shields around ourselves (but that’s a whole other blog so watch this space!).
Unfortunately, our lives and education system are designed to make art and creativity a subject of lesser importance. Often, Art-time is limited to only one hour during a school week and, if a more logical subject gets in the way, sometimes Art-time is removed altogether from the children.
Children need to be continuously encouraged to be creative and artistic. To nurture individuality and know that not everyone will like our crafts or art, but that’s okay – that’s what makes us all different and life so exciting!
I teach relaxation classes to children and have Arts & Crafts time at the end. The children are so excited to find out what stickers, colours, sticky shapes & surprises I take out of my bag! This is a wonderful time for imaginative conversation, allowing them spend time with their own thoughts. It is as if they breathe a sigh of relief when the logical sides of their brain rest, their creative brain takes over, something that is so desperately needed in their little lives these days.
So how do we keep our kids creative? How do we keep ourselves creative?
Easy!
Make creating the most important part of your day. Make it the time you look forward to spending with yourself and your children. If you don’t have any children – why not borrow someone else’s for a while?
Art & creativity does not have to be costly, time-consuming or messy. Simple materials can be used such as Crayons, coloured pencils, markers, stickers and play-dough (I can provide a recipe for this to anyone if they would like it - please convo me). Your child might enjoy knitting or needlework (with a blunt needle of course!). Picking flowers from the garden to decorate the table. Making cards for people they love. Even cooking and baking with your child is a creative activity.
Create an “Art Gallery” for your little artist! Children are so proud when their parents hang their artwork for all to see.
This in turn improves their confidence & self-esteem. Hang paintings on the fridge or tie a piece of string from one wall to another and hang their art on it with pegs. Creativity is always evolving as your child grows, so keep the art display ever-changing too.
When I display my children’s paintings at Craft Fairs, I love to ask the children which of the paintings they like the best and why. One day, I asked a little girl that question. She stood back, a pensive look on her face as she took in the various paintings, then said,
“Well, I like them all. But I think I like the Butterfly best ‘coz I know if I had her on my bedroom wall, I’d chat with her every day. She looks like she’d be really nice to talk to.”
It’s all about the Magic, people.
Never forget the Magic………
To meet the talking Butterfly & some of her other magical friends, visit my shop: